Six Minute Caramels – Quick, Buttery, and Irresistibly Soft
Six Minute Caramels – Quick, Buttery, and Irresistibly Soft
If there were ever a recipe that proves magic can happen in under ten minutes, it’s these Six Minute Caramels. They’re soft, buttery, melt-in-your-mouth morsels of golden sweetness — and they only take one bowl, one microwave, and just six minutes of your time.
I still remember the first time I tried this recipe. It was during the holidays, when the kitchen was already bustling with the smell of cookies and spiced cider. I needed something quick — something homemade but not fussy. Out came this caramel recipe from an old handwritten note tucked in my grandmother’s recipe box. I wasn’t expecting much, but when I poured that warm, silky caramel into the pan and watched it cool into glossy perfection, I knew I had stumbled onto something special.
The first bite sealed the deal — soft, chewy, buttery, and rich, with just the right hint of vanilla. It’s the kind of candy that reminds you of the good old days, when homemade sweets were wrapped in wax paper and given out as tokens of love. Whether you’re gifting them, sharing them, or sneaking one (or two) for yourself, these caramels deliver pure, old-fashioned joy — in record time.
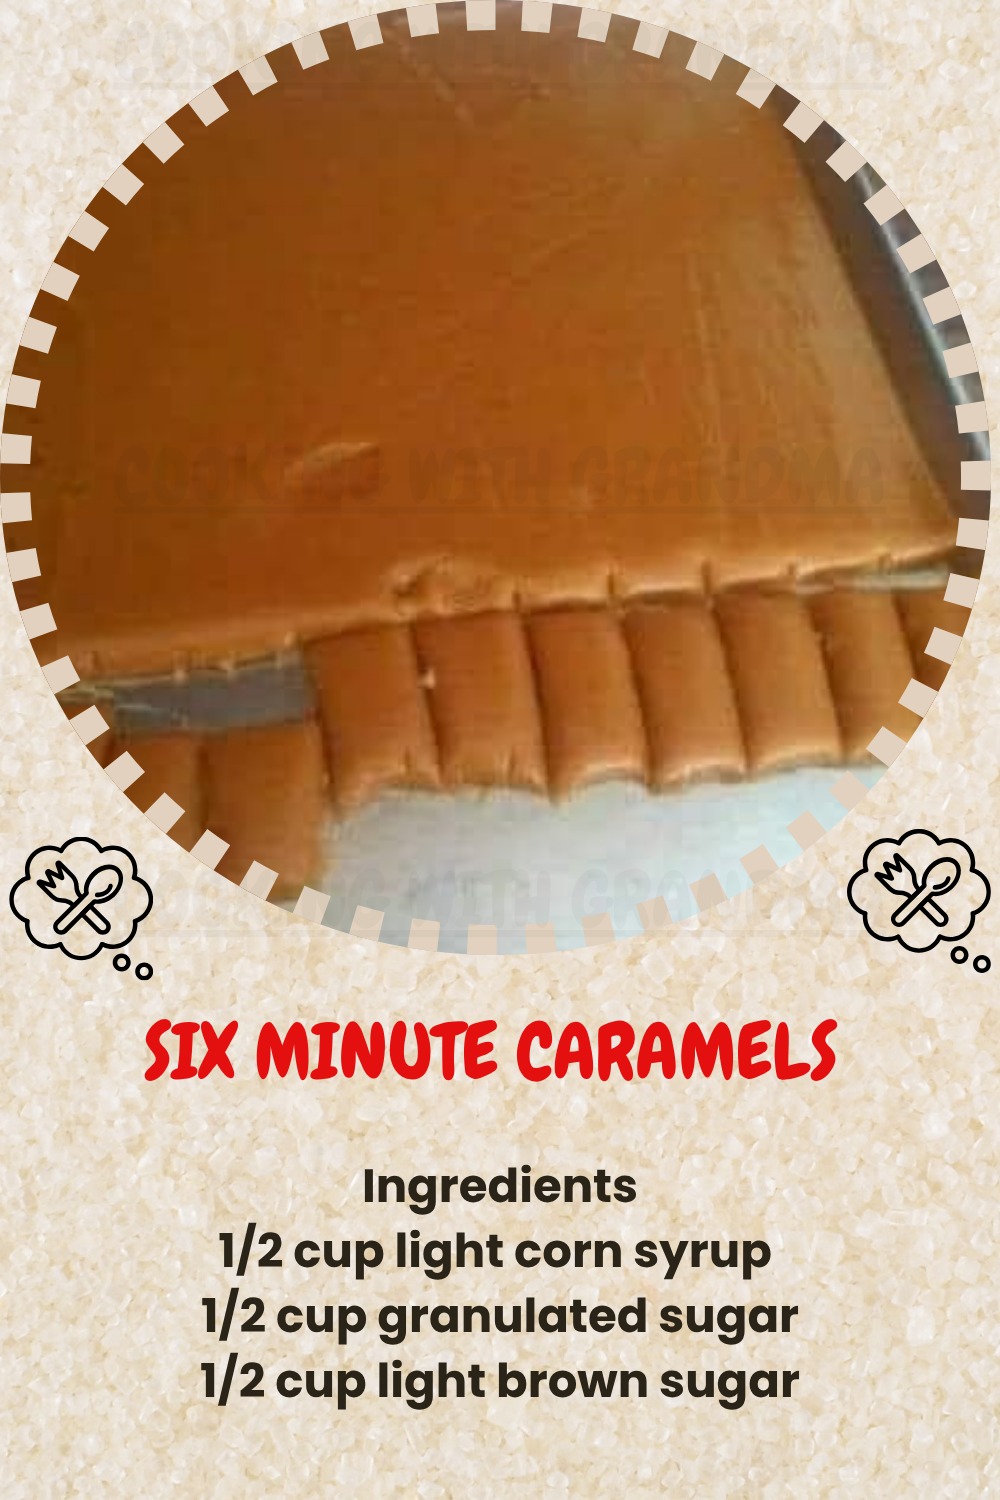
Six Minute Caramels
Ingredients:
1/2 cup salted butter (1 stick, 8 tbsp), melted in a large mug or microwave-safe bowl
1/2 cup light corn syrup (Karo works great)
1/2 cup granulated sugar
1/2 cup light brown sugar
1/2 cup sweetened condensed milk
1 teaspoon vanilla extract
Optional: Sea salt for topping
Directions:
-
Butter an 8×8 baking dish, or line it with parchment paper.
-
In a large glass bowl, melt the butter in the microwave.
-
Add all other ingredients (except vanilla) and stir to combine. If not using sea salt as a topping, add 1/4 teaspoon of table salt to the mixture.
-
Return the bowl to the microwave for 6 minutes and 30 seconds. Microwave times may vary.
-
Carefully remove the bowl (use heating pads) and stir in the vanilla extract.
-
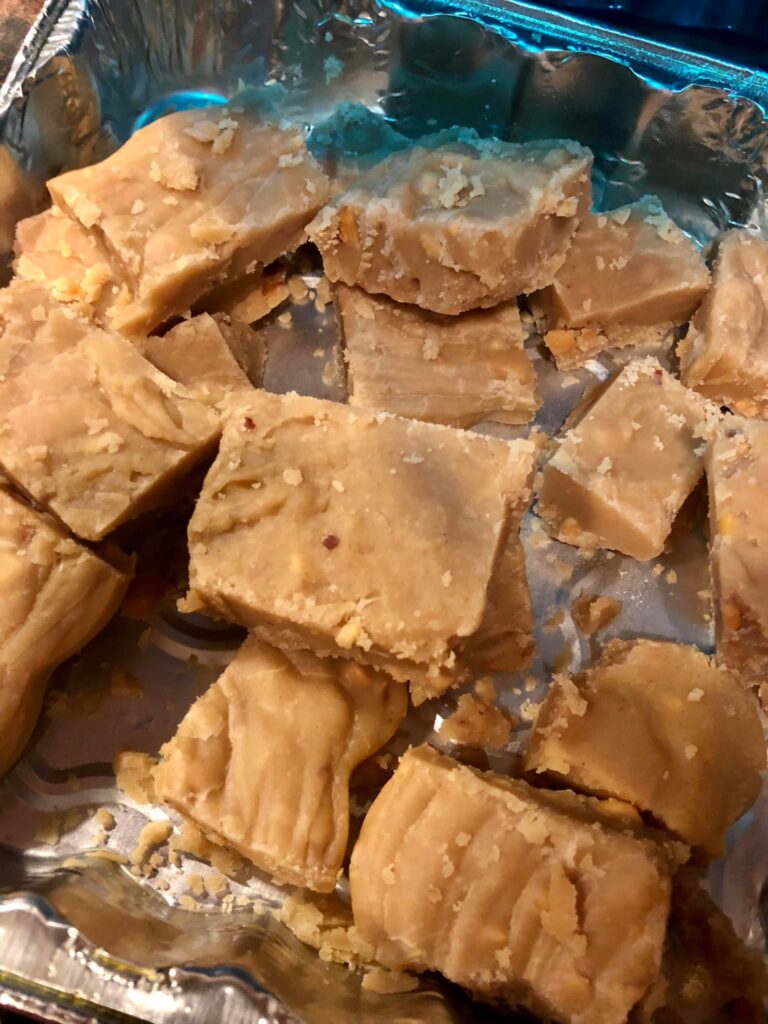
Pour the caramel into the prepared baking dish. Let it sit for a bit, then sprinkle with sea salt if desired.
-
Allow the caramel to cool completely before slicing. For easier slicing, refrigerate the caramel until cold.
-
Optionally, wrap the caramel pieces in wax paper for storage.
Why You’ll Love This Recipe
This recipe is a miracle for anyone short on time but craving something homemade. There’s no candy thermometer, no standing over a stovetop, and no endless stirring — just the microwave and a few pantry staples. The results are astonishingly good: smooth, buttery, and perfectly chewy caramels that rival anything you’d buy at a candy shop.
It’s also a perfect recipe for beginners. You can make these with kids, during a holiday rush, or even as a last-minute treat to gift or share. And since it uses sweetened condensed milk, the texture turns out silky every time — no guesswork involved.
Best of all, you can dress them up however you like. Sprinkle them with flaky sea salt for that gourmet salted caramel touch, or dip them halfway in melted chocolate for a fancy finish.
Tips for Perfect Six Minute Caramels
1. Use a large, microwave-safe bowl.
Caramel expands as it cooks, so make sure your bowl has plenty of space. A 2-quart or larger glass bowl is ideal — otherwise, you might end up cleaning a sticky caramel volcano out of your microwave!
2. Adjust microwave time if needed.
Every microwave heats differently. If your caramels come out too soft, add 15–30 seconds next time. If they’re too firm, shave off 15 seconds. Once you’ve found the sweet spot for your microwave, it’s perfection every time.
3. Don’t skip the resting step.
Letting the caramel cool fully before cutting ensures clean, even squares. For the best slicing, chill it in the fridge first and use a sharp, greased knife.
4. Make it gourmet.
After cutting, dip the caramels in melted dark chocolate and sprinkle a pinch of flaky salt on top. Suddenly, you have fancy sea salt caramels that look (and taste) like they came from an artisan candy store.
5. Add flavor twists.
Stir in a touch of espresso powder, a dash of bourbon, or even a sprinkle of cinnamon for unique flavor variations.
When to Make These Caramels
Honestly, anytime. But they shine brightest during the holidays — think Christmas gift boxes, Thanksgiving dessert trays, or little “thank you” bundles for teachers and friends. They also make lovely party favors when wrapped in wax paper and tied with ribbon.
You can even keep them on hand for those cozy movie nights or late-night sweet cravings. Since they stay soft for days, they’re also great for mailing in care packages or adding to homemade goodie baskets.
Storage and Gifting Tips
-
At Room Temperature: Keep your caramels in an airtight container at room temperature for up to 10 days. Layer them between parchment paper to prevent sticking.
-
In the Refrigerator: Store for up to 3 weeks — just bring to room temperature before serving for the best texture.
-
In the Freezer: Freeze wrapped caramels for up to 3 months. Thaw in the fridge overnight before unwrapping.
For gifting, wrap each caramel piece in wax paper or parchment squares. They look adorable in small tins, mason jars, or cellophane bags tied with rustic twine. Simple, heartfelt, and deliciously homemade.
Frequently Asked Questions
Q1: Can I double the recipe?
Yes! Just use a larger bowl and add about one extra minute to the microwave time. Be sure to stir halfway through to ensure even cooking.
Q2: My caramels turned grainy — what happened?
Graininess can happen if the sugar isn’t fully dissolved. Stir thoroughly before microwaving and again right after cooking. The butter and syrup help prevent this, so mix well.
Q3: Can I make these without corn syrup?
Corn syrup gives the caramels their smooth texture and prevents crystallization. If you prefer to skip it, you can try golden syrup, though the texture may be slightly different.
Q4: How do I make salted caramels?
Just sprinkle sea salt over the top right after pouring the caramel into the pan. The contrast between sweet and salty is irresistible.