Chocolate Covered Coconut Candy That Feels Like a Handwritten Recipe Card
Chocolate Covered Coconut Candy That Feels Like a Handwritten Recipe Card
Introduction
Some candies don’t come from glossy magazines or trendy bakeries. They come from kitchens where the counter is lightly dusted with sugar, the radio hums in the background, and someone is rolling candy by hand because that’s just how it’s always been done. This Chocolate Covered Coconut Candy is exactly that kind of recipe. It feels familiar in the best way, like something passed down on a slightly stained index card with notes scribbled in the margins.
There’s a certain comfort in recipes like this. No fancy equipment, no complicated techniques, just a bowl, a spoon, and a little patience while things chill and set. Coconut candies have always had that old-fashioned charm, especially when paired with rich chocolate. They’re sweet without being flashy, indulgent without being over the top. The kind of candy you sneak one of from the fridge, then come back for another because they’re somehow both light and satisfying.
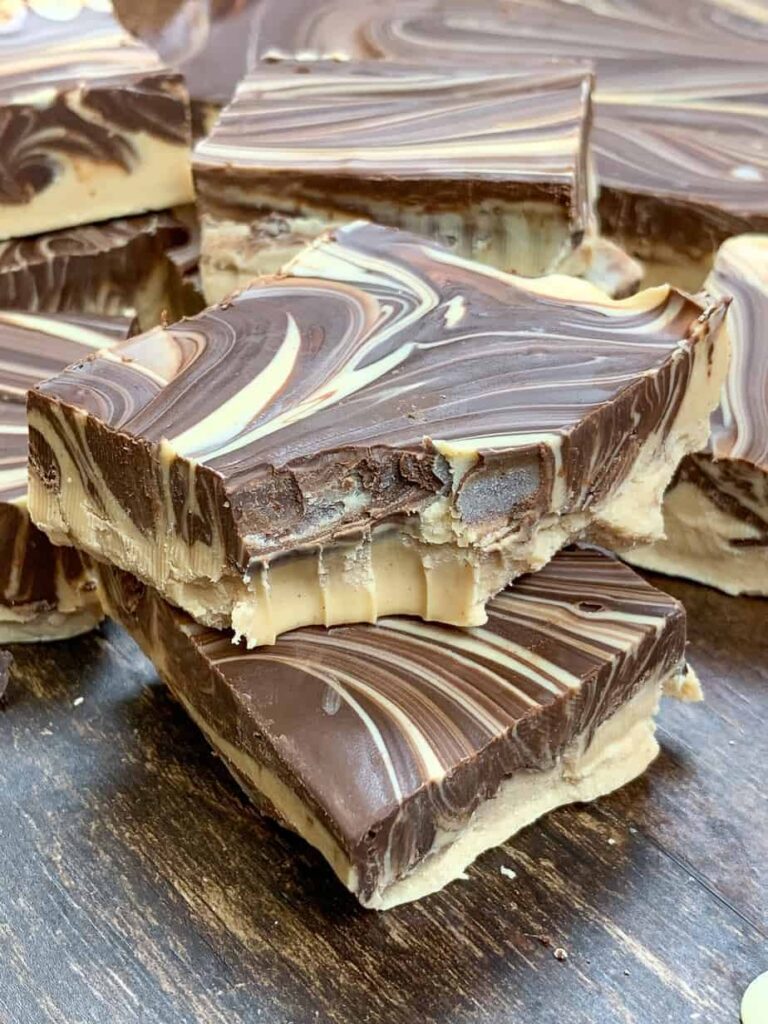
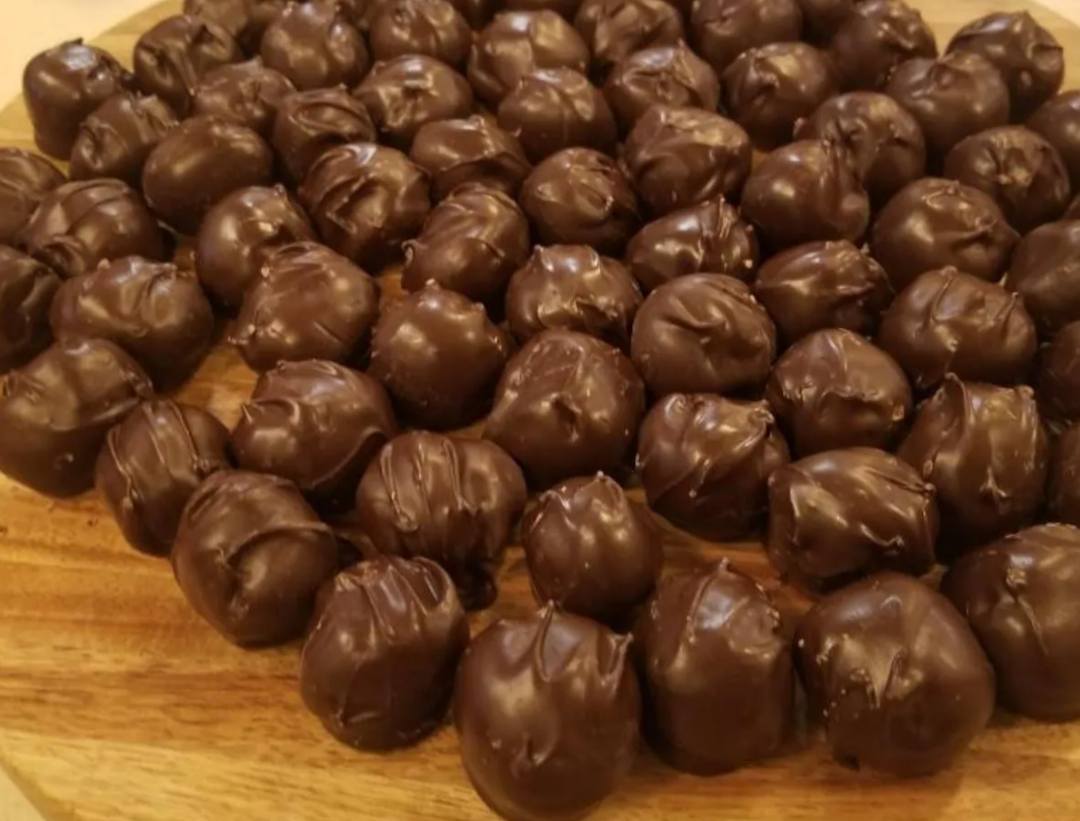
What really makes this recipe special is the texture. The soft, slightly chewy coconut center mixed with almonds contrasts beautifully with the smooth chocolate coating. Each bite feels balanced. Sweet, nutty, creamy, and just a little nostalgic. These are the candies that show up on holiday trays, at family gatherings, or tucked into tins meant for sharing.
They’re also incredibly rewarding to make. Shaping each little ball by hand feels calming, almost meditative. It’s the kind of recipe that slows you down just enough to enjoy the process. If you’re craving a homemade candy that tastes like tradition and comfort, this Chocolate Covered Coconut Candy absolutely deserves a spot in your kitchen.
Chocolate Covered Coconut Candy
Ingredients
1-3/4 cups confectioners’ sugar
1-3/4 cups flaked coconut
1 cup chopped almonds
1/2 cup sweetened condensed milk
2 cups (12 ounces) semisweet chocolate chips
2 tablespoons shortening
Directions
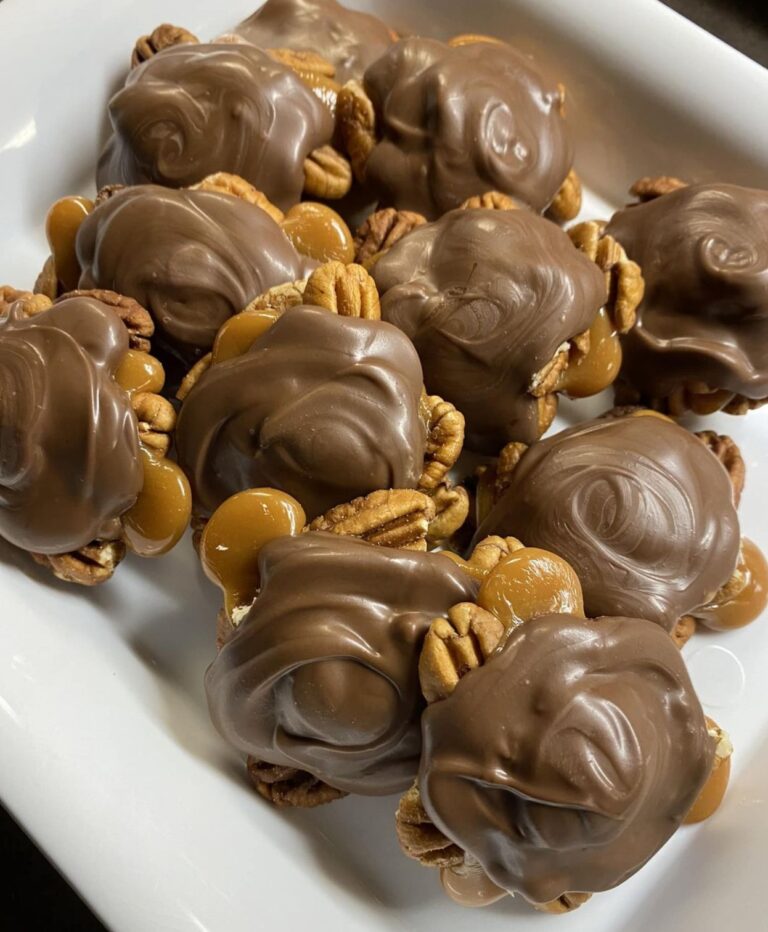
In a large bowl, combine the confectioners’ sugar, coconut, almonds and milk. Shape into 1-in. balls. Refrigerate until firm, about 20 minutes. In a microwave, melt semisweet chips and shortening on high for about 1 minute; stir. Microwave at additional 10- to 20-second intervals, stirring until smooth.Dip balls in chocolate; allow excess to drip off. Coat or garnish with ingredients of your choice. Place on waxed paper; let stand until set.
Helpful Tips for Perfect Coconut Candy
Even though this recipe is straightforward, a few small tips can help ensure the best results. When mixing the coconut filling, make sure everything is evenly combined so each ball holds together well. If the mixture feels slightly sticky, that’s normal. Chilling it helps firm things up and makes shaping much easier.
When rolling the balls, try to keep them close to the same size so they coat evenly in chocolate. Clean hands help, and lightly greasing your palms can prevent sticking without affecting the candy.
For the chocolate coating, patience is key. Melting in short intervals prevents overheating and keeps the chocolate smooth. Stirring often makes a big difference here. If the chocolate starts to thicken while dipping, a quick stir usually brings it back to the right consistency.
Serving Ideas and When to Enjoy Them
These coconut candies are perfect for holidays, special occasions, or anytime you want something homemade that feels a little extra special. They look beautiful arranged on a dessert platter alongside cookies and fudge, adding variety in both texture and flavor.
They’re also excellent for gifting. Pack them in small boxes or tins lined with waxed paper, and you’ve got a thoughtful homemade treat that travels well. Serve them slightly chilled for a firmer bite or at room temperature for a softer center.
They pair wonderfully with coffee, tea, or even a glass of cold milk. One or two is usually enough, but don’t be surprised if they disappear faster than expected.
Storage and Make-Ahead Tips
Once the chocolate has fully set, store the candies in an airtight container. They keep well at room temperature for a few days, especially in cooler environments. For longer storage, refrigeration is ideal and helps maintain their shape.
These candies can also be made ahead of time. In fact, many people find they taste even better after resting for a day, once the flavors have fully come together. If stacking them in a container, separate layers with waxed paper to prevent sticking.
Frequently Asked Questions
Can I make these ahead of time?
Yes, they’re perfect for making ahead and storing until you’re ready to serve or gift them.
Why is my filling too soft?
If the mixture feels too soft, additional chilling time usually solves the problem.
Can I decorate them?
Absolutely. You can garnish with extra coconut, chopped nuts, or a drizzle of chocolate.
Do I need special tools?
No special tools are required. A bowl, spoon, and microwave are all you need.