Lunchroom Ladies’ 50-Year-Old Brownie Recipe: A Sweet Taste of Nostalgia
Lunchroom Ladies’ 50-Year-Old Brownie Recipe: A Sweet Taste of Nostalgia
There’s something magical about a recipe that has stood the test of time. When a dish has been around for 50 years, you know it’s a true classic. This “Lunchroom Ladies” brownie recipe is one of those timeless treasures—simple, sweet, and packed with memories. Whether you remember eating these chewy, fudgy brownies in your school cafeteria or are just discovering them now, one thing is for sure: these brownies will take you back to a simpler time.
I first stumbled upon this recipe while going through an old box of family recipes—tucked away and scribbled on a slightly yellowed index card. I immediately knew I had to try it. I mean, how could something that has been around for 50 years not be special, right? As I mixed together the familiar ingredients, the smell filled the house, and I couldn’t help but feel a sense of nostalgia wash over me. Each bite tasted just like I remembered—perfectly balanced, with a rich chocolate flavor and a tender texture that you can’t get from any store-bought treat.
These brownies are as close to homemade perfection as you can get. The best part? The recipe is so simple! With ingredients you probably already have in your pantry, these brownies come together in a flash. If you’re looking for the ultimate brownie recipe that’s tried and true, this one is for you. Whether you’re baking them for a family get-together, a bake sale, or just because you’re craving something sweet, these brownies are sure to be a hit.
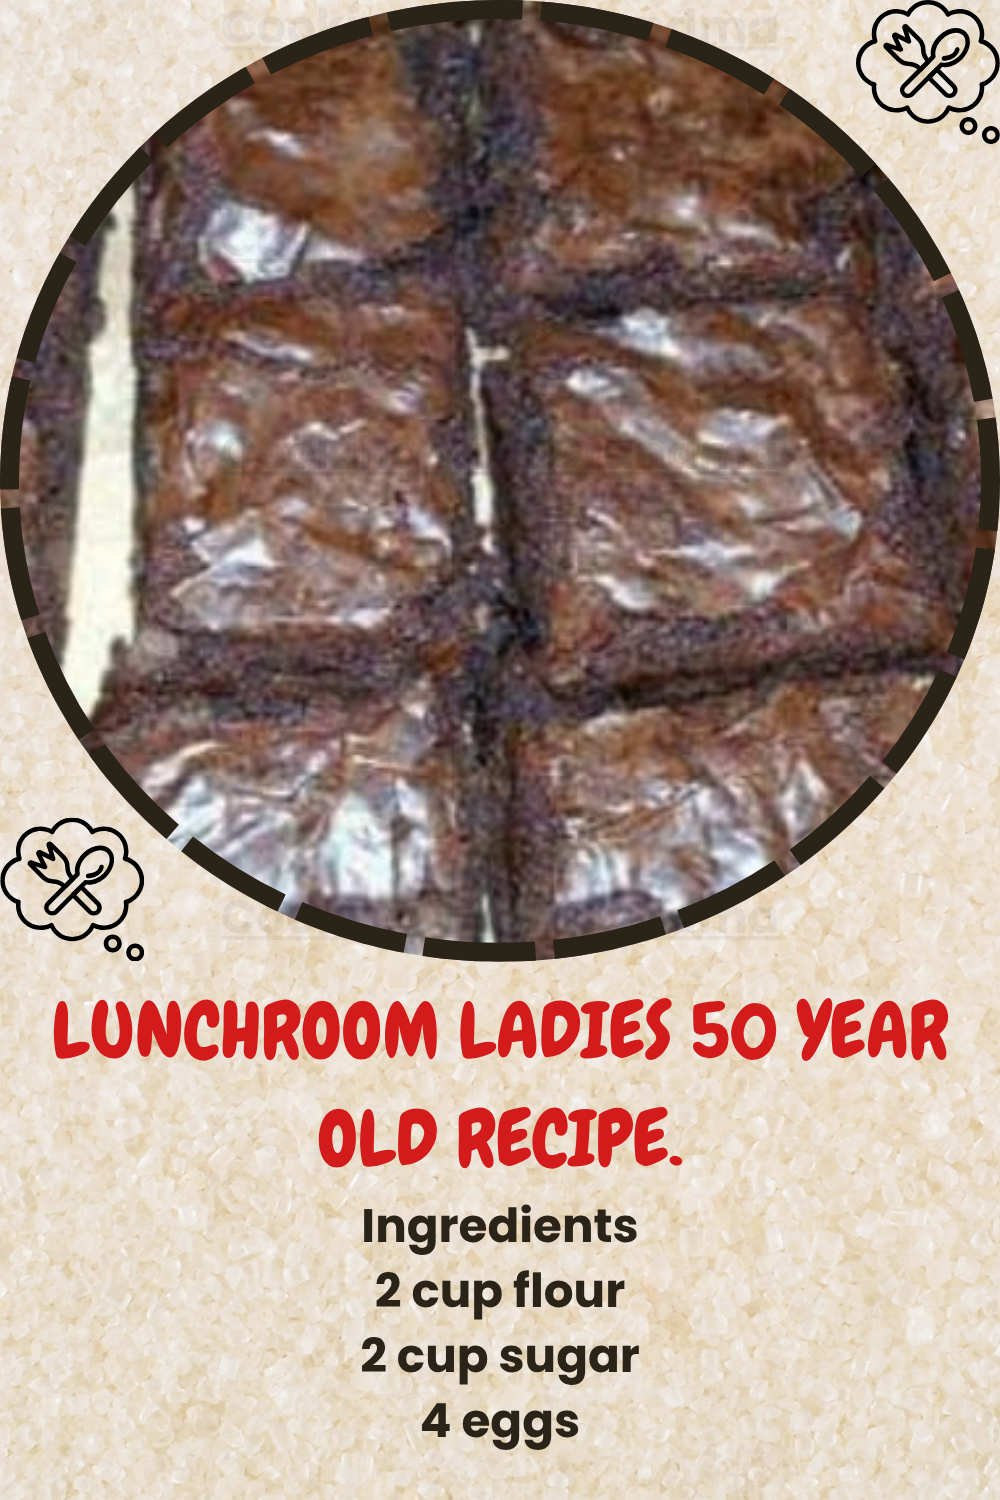
Lunchroom Ladies’ 50-Year-Old Brownies
Ingredients:
-
1 cup butter
-
1/2 cup cocoa
-
2 cups flour
-
2 cups sugar
-
4 eggs
-
4 tsp vanilla
-
1 cup chopped nuts (optional)
Directions:
-
Preheat your oven to 350°F.
-
In a medium saucepan, melt the butter and cocoa together over low heat. Stir until smooth and combined.
-
Once the butter and cocoa mixture is fully melted, remove it from heat and let it cool for a few minutes.
-
Add the flour, sugar, eggs, and vanilla to the saucepan. Stir well until everything is fully incorporated.
-
If you’re using nuts, fold them into the batter.
-
Pour the batter into a 9×13-inch pan, spreading it evenly.
-
Bake for 20-25 minutes. Start checking at 20 minutes to make sure they don’t overbake. They should be slightly soft in the center but firm around the edges.
-
Once baked, let the brownies cool before cutting them into squares.
Optional Icing:
If you love a decadent, gooey layer of icing on your brownies, I’ve got the perfect recipe to take them to the next level. This icing is just the right amount of sweet and pairs perfectly with the rich chocolate flavor of the brownies.
Icing Ingredients:
-
1/4 cup softened butter
-
1/4 cup canned milk (regular milk works fine too, but evaporated milk gives it a richer flavor)
-
1/4 cup cocoa
-
3 cups powdered sugar
-
Dash of salt
Icing Directions:
-
In a medium saucepan, melt the butter over low heat.
-
Add the milk and cocoa, stirring until smooth.
-
Gradually whisk in the powdered sugar, a little at a time, to prevent lumps.
-
Add a dash of salt and stir until the icing is glossy and thick.
-
Once your brownies have cooled, spread the icing over the top, covering them evenly. Let the icing set before slicing and serving.
Tips and Substitutions
If you’re looking to tweak this recipe or just want to make it your own, here are a few ideas for substitutions or additions:
-
Nutty Goodness: If you love a bit of crunch, feel free to swap out the regular chopped nuts for something more exotic like walnuts, pecans, or even macadamia nuts.
-
Dairy-Free? You can substitute the butter for a dairy-free alternative (like coconut oil) and use dairy-free milk for the icing. The texture will still be fantastic, and it’s perfect for those with dietary restrictions.
-
Extra Fudgy? If you want to amp up the fudginess, you can reduce the flour to 1 1/2 cups and add a little extra cocoa powder. This will give the brownies a denser, richer texture.
-
Gluten-Free Version: To make the recipe gluten-free, you can use a 1-to-1 gluten-free flour substitute in place of the regular flour. Make sure your cocoa powder is also gluten-free.
When to Serve These Brownies
These brownies are perfect for any occasion, but here are a few ideas for when to enjoy them:
-
Back to School: Whether you’re packing them in a lunchbox for your kids or making a batch for yourself, these brownies are the perfect treat for the start of the school year.
-
Family Gatherings: Bring these brownies to your next family dinner or gathering, and watch them disappear! They’re a crowd-pleaser that everyone will love.
-
Dessert for Coffee Breaks: Pair a warm brownie with a cup of coffee or tea for the ultimate afternoon pick-me-up.
-
Bake Sales: These brownies are a great option for bake sales or fundraisers. They’re easy to make in bulk and sure to be a hit!
Storage and Freezing Tips
While these brownies are delicious fresh out of the oven, they’re also fantastic for storing. Here’s how to keep them fresh:
-
Room Temperature: Store any leftover brownies in an airtight container at room temperature for up to 3-4 days.
-
Freezing: These brownies freeze beautifully. Simply place the brownies in a freezer-safe container or bag, and they’ll keep for up to 3 months. When you’re ready to enjoy them, let them thaw at room temperature.
Frequently Asked Questions
1. Can I make these brownies ahead of time?
Yes! These brownies keep really well, so you can make them a day or two ahead of time. Just store them in an airtight container to keep them fresh. If you plan to add icing, I recommend doing so closer to serving time to maintain the perfect texture.
2. Do I need to use the icing?
Not at all! The brownies are delicious on their own. The icing is an optional extra for those who love a little added sweetness and richness, but it’s totally up to your preference.
3. How can I tell if the brownies are done?
The best way to check is by inserting a toothpick into the center. If it comes out with just a few moist crumbs, the brownies are done. If it’s covered in batter, give them a little more time in the oven. Remember, they’ll continue to cook a bit once you take them out of the oven!
4. Can I use a different size pan?
A 9×13 pan is ideal, but if you use a smaller pan, your brownies will be thicker and may need a bit more time to bake. If you use a larger pan, the brownies may be thinner, and you’ll need to reduce the baking time.