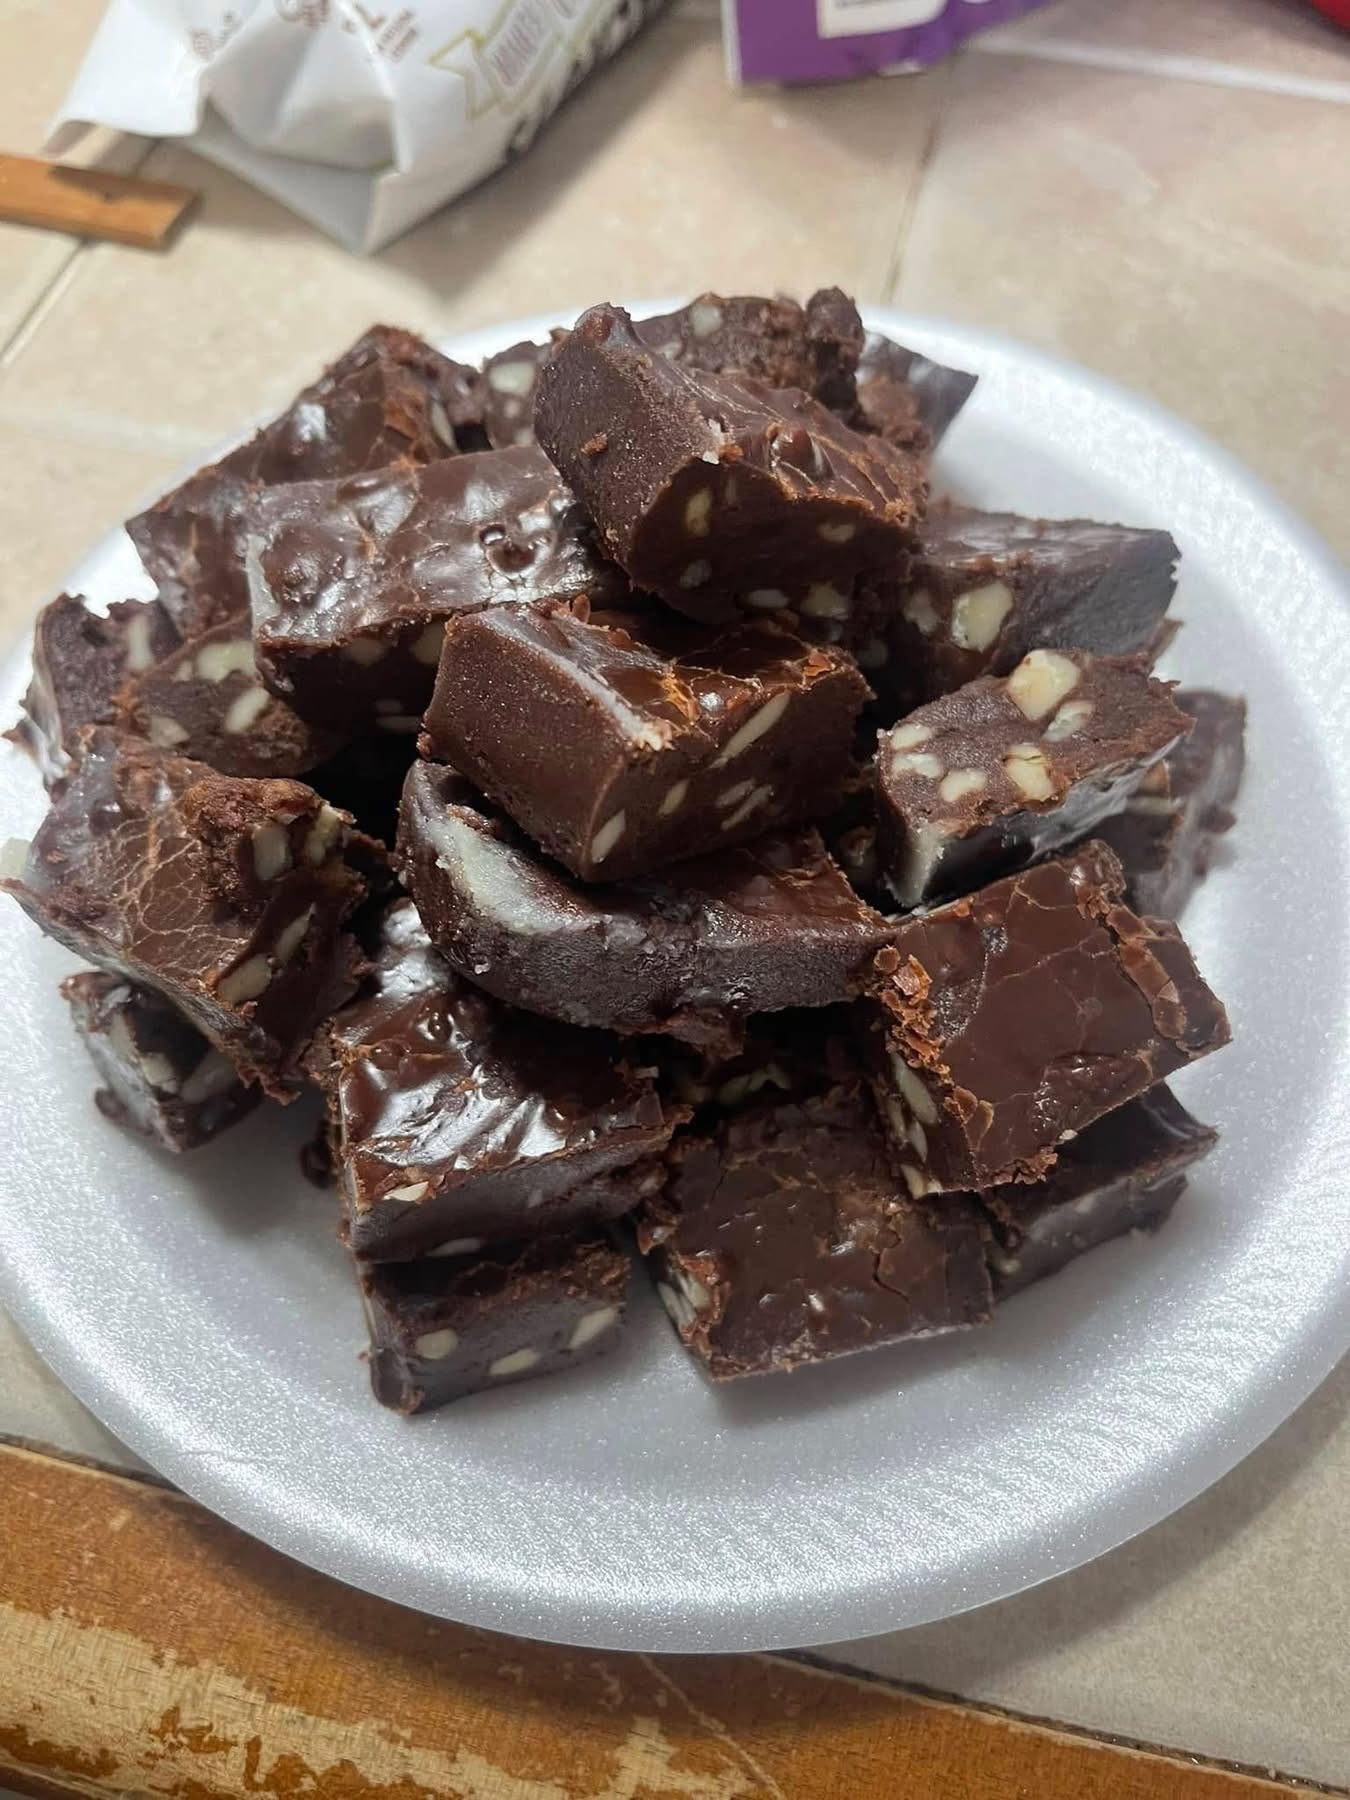
Old Fashioned Black Walnut Fudge in a Cast Iron Skillet: A Sweet, Nostalgic Delight
Old Fashioned Black Walnut Fudge in a Cast Iron Skillet: A Sweet, Nostalgic Delight
Introduction
There’s something timeless and comforting about making fudge in a cast iron skillet. It’s the kind of dessert that takes you back to simpler times when recipes were passed down through generations and made with love. This Old Fashioned Black Walnut Fudge brings together the rich taste of chocolate, the smoothness of evaporated milk, and the crunch of black walnuts—all cooked up in a trusty cast iron skillet. The result is a sweet treat that’s perfect for any occasion, from family gatherings to quiet nights at home.
What makes this fudge so special isn’t just its flavor—it’s the process. The rhythm of stirring the ingredients, watching them melt together, and then patiently letting the fudge cool to perfection. It’s the kind of recipe that’s easy to make but delivers big rewards. Whether you’re a seasoned baker or someone who loves making old-fashioned treats, this black walnut fudge will undoubtedly become a favorite in your kitchen.

Old Fashioned Black Walnut Fudge in a Cast Iron Skillet
Ingredients
-
1 stick of butter
-
2 cups sugar
-
1/2 cup cocoa powder
-
1/2 cup evaporated milk
-
1 teaspoon vanilla extract
-
1 cup black walnuts
Directions
-
In a cast iron skillet, melt together the butter, sugar, cocoa powder, and evaporated milk. Stir until well combined.
-
Bring the mixture to a hard boil, stirring constantly. Boil for 4 minutes.
-
Remove the skillet from the heat and add the vanilla extract and black walnuts. Stir to combine.
-
Continue stirring every few minutes to allow the fudge to cool and begin to thicken (you don’t have to wait for it to lose its gloss as some recipes suggest).
-
Once the fudge has thickened slightly, pour it into a buttered pan and let it cool completely.
-
Once the fudge has cooled, cut it into pieces and transfer them to a container. This fudge does not need to be refrigerated.
Additional Content
Cooking Tips and Possible Substitutions
Making fudge in a cast iron skillet isn’t just about the process; it’s also about the results. Cast iron provides even heat distribution, which helps ensure that the fudge doesn’t burn or become too hard. However, be sure to stir constantly once the mixture starts to boil, as this will help prevent scorching.
If you can’t find black walnuts, regular walnuts can easily be substituted, but they won’t have the same deep, earthy flavor. You could also try other nuts, like pecans or almonds, depending on your personal preference.
Another pro tip: don’t worry about stirring until the fudge loses its gloss. In my experience, you don’t need to wait that long—just stir it every few minutes as it cools, and it will still thicken to the perfect texture.
Serving Ideas and When to Enjoy It
This old-fashioned black walnut fudge is perfect for so many occasions. It makes an excellent dessert for a family dinner or a sweet snack to enjoy with your afternoon tea or coffee. The rich chocolate flavor and the crunchy nuts are a hit with both kids and adults alike. Plus, it’s a great treat for the holidays, whether you’re bringing it to a party or wrapping it up as a homemade gift.
For serving, try pairing it with a scoop of vanilla ice cream or some fresh fruit like strawberries or raspberries. The contrast of the creamy ice cream and the rich, nutty fudge is a delightful combination that’s sure to please your taste buds.
Storage or Freezing Tips
One of the best things about this fudge is that it doesn’t need to be refrigerated! Once cooled, simply store the fudge in an airtight container at room temperature. It will stay fresh for about a week, though it might not last that long once everyone starts digging in!
If you want to make it ahead of time or save some for later, you can freeze the fudge. Just wrap individual pieces in plastic wrap or wax paper, and store them in an airtight freezer bag or container. When you’re ready to enjoy it, let it thaw at room temperature for about 30 minutes.
FAQ
1. Can I use regular walnuts instead of black walnuts?
Yes, you can! Black walnuts have a distinctive, slightly earthy flavor, but regular walnuts will work just as well in this fudge. You could also try pecans or almonds if you’re looking for a different nutty flavor.
2. Why does the recipe suggest stirring until the fudge loses its gloss?
The glossiness refers to the shiny appearance of the fudge as it cools. However, based on my experience, you don’t need to wait for it to completely lose its gloss. Simply stir it every few minutes as it cools until it begins to thicken.
3. Can I double the recipe?
Absolutely! If you’re making this for a larger group or want to store extra fudge, doubling the recipe works just fine. Just be sure to use a larger pan to accommodate the increased volume.
4. How do I know when the fudge is ready to pour into the pan?
The fudge should start to thicken and lose some of its gloss, but it doesn’t have to be completely firm before pouring it into the pan. Just keep an eye on it and stir occasionally, and when it starts to thicken, you’re good to go!