Old-Fashioned Fudge – A Timeless Chocolate Treat
Old-Fashioned Fudge – A Timeless Chocolate Treat
Few desserts carry the weight of nostalgia quite like fudge. Old-Fashioned Fudge, like the kind from grandma’s kitchen or the cocoa container on your pantry shelf, is a sweet memory wrapped in chocolatey goodness. Every bite brings back images of family gatherings, holiday kitchens filled with the smell of melting chocolate, and the excitement of waiting for the perfect piece to set.
I remember sitting at the kitchen table as a child, watching the sugar and cocoa slowly transform into glossy, rich fudge on the stovetop. My grandmother would carefully stir the mixture, her wooden spoon gliding through the thick chocolate, and then she’d share little nuggets of wisdom: don’t stir after it boils, don’t scrape the sides, and always wait for the shine to fade before beating. Those little lessons didn’t just make better candy — they created memories.
This recipe has a simplicity that makes it so approachable, yet it’s magical in its results. It doesn’t rely on fancy equipment or complicated steps. The ingredients are pantry staples: sugar, cocoa, milk, butter, and a touch of vanilla. And yet, the finished fudge is decadent, creamy, and perfectly set — just like the old-fashioned fudge we all remember.
Whether you’re making it for a holiday gift, a family treat, or just because you need a chocolate fix, this fudge has a timeless charm that never goes out of style. It’s comfort, tradition, and indulgence all in one.
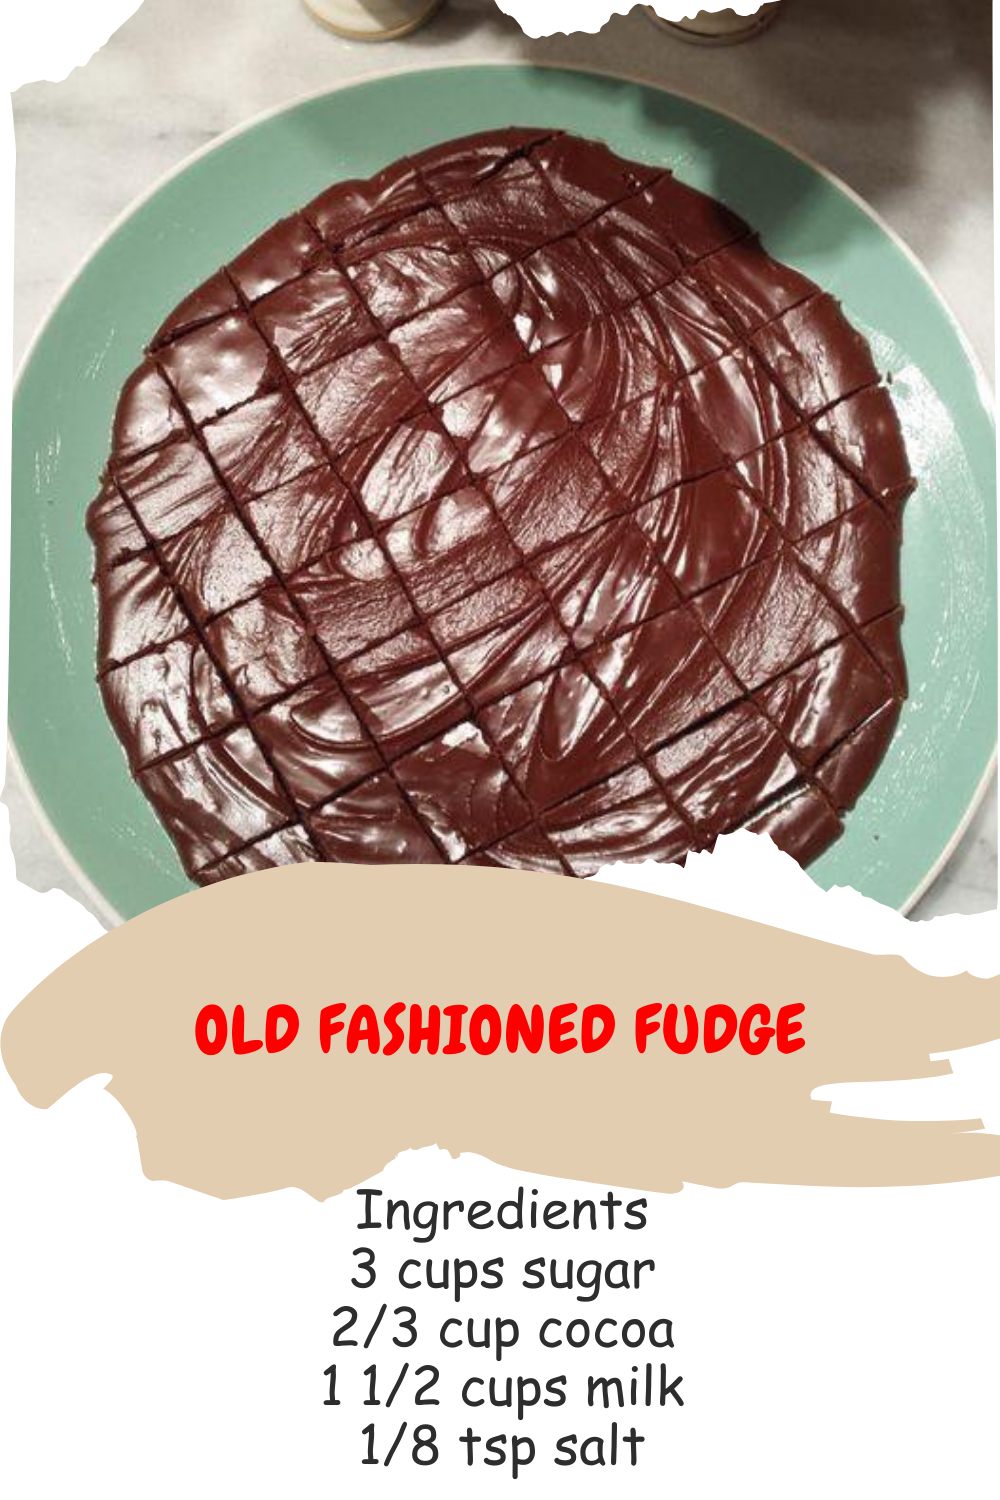
Old-Fashioned Fudge
Ingredients:
3 cups sugar
2/3 cup cocoa
1 1/2 cups milk
1/8 tsp salt
1/4 cup butter (no margarine)
1 tsp vanilla extract
Instructions:
Add first four ingredients to pan and heat to boiling on medium heat, stirring constantly. They say use a wooden spoon for candy making but I use regular spoons and it’s fine. Once it starts to boil, turn down the heat and don’t stir anymore, and never scrape the sides of the pan or your fudge will turn grainy from the crystallized sugar on the pan. The only thing I do differently is after it gets to the soft ball stage, I add the vanilla and butter (don’t stir!) – then remove from heat and leave it for about half an hour. Letting it cool somewhat makes it a lot less work beating it with a spoon after. As soon as the fudge loses it’s shine pour it, it sets up super fast. I don’t mess around with parchment lined baking dishes, I do it like grandma did, I pour it onto a buttered plate.
Why This Fudge Is So Special
This old-fashioned fudge has a charm that modern candy sometimes lacks. There’s a richness and creaminess to it that comes from the careful combination of milk, cocoa, and sugar, and a touch of butter and vanilla brings out the depth of chocolate flavor.
What makes this fudge stand out is its simplicity. You don’t need candy thermometers or fancy gadgets. The method is as traditional as it gets: heat, boil, cool, and beat. And that simplicity allows the chocolate flavor to shine without distractions. It’s exactly the kind of treat that grandma would have pulled together for unexpected company or a cozy evening at home.
The texture is also something to marvel at. Creamy, smooth, and just firm enough to hold its shape, this fudge melts in your mouth and leaves you longing for just one more piece. The process — the waiting for it to lose its shine, the careful pouring onto a buttered plate — is part of the charm, creating anticipation and making the first bite even more rewarding.
Tips for Perfect Old-Fashioned Fudge
1. Use real butter.
Avoid margarine — it can change the texture and flavor. Real butter gives the fudge that rich, creamy mouthfeel.
2. Don’t stir after boiling.
Once the mixture reaches a boil, stop stirring and don’t scrape the sides. This prevents crystallization and keeps the fudge smooth.
3. Be patient while cooling.
Letting the fudge sit for about half an hour before beating reduces the effort required and ensures a smoother texture.
4. Use a buttered plate.
Parchment is optional. Grandma’s method works perfectly — a lightly buttered plate prevents sticking and makes serving easy.
5. Beat until creamy.
Once the mixture has cooled slightly, beating by hand develops the fudge’s silky texture. The loss of shine signals it’s ready to pour and set.
Serving and Enjoying
Old-Fashioned Fudge is versatile. Cut it into small squares for bite-sized treats, or larger pieces for an indulgent snack. It’s perfect for sharing at holidays, gifting to neighbors, or simply enjoying with a cup of tea or coffee.
For presentation, sprinkle lightly with chopped nuts or sea salt, if desired. While optional, it adds a subtle crunch and enhances the chocolate flavor. Serve on a vintage plate or in a candy dish to evoke that classic, nostalgic feel.
Storage Tips
-
Room Temperature: Store fudge in an airtight container at room temperature for up to a week. Keep it in a cool, dry place to maintain texture.
-
Refrigeration: For longer storage, refrigerate fudge in an airtight container for up to 3 weeks. Let it come to room temperature before serving for the best texture.
-
Freezing: Wrap fudge tightly in wax paper or plastic wrap and place in a freezer-safe container. Freeze for up to 3 months. Thaw overnight in the fridge.
Frequently Asked Questions
Q1: Can I use margarine instead of butter?
No — real butter is key for flavor and texture. Margarine can make the fudge grainy or less rich.
Q2: My fudge turned grainy. What went wrong?
This usually happens when the sides of the pan are scraped or the fudge is stirred after boiling. Patience and following the cooling instructions prevent this.
Q3: Can I add nuts or other mix-ins?
Yes! Chopped walnuts, pecans, or even a handful of mini chocolate chips can be folded in after adding butter and vanilla for a variation on the classic recipe.
Q4: How do I know when the fudge is ready to pour?
When the mixture loses its shiny gloss and thickens slightly, it’s ready to beat and pour. Don’t rush this step — it ensures creamy, smooth fudge.